Host Guide: How To Add Multiple Units to Your Shortlet Listing
Do You Have More Than 1 Unit of Your Listing? Many shortlet operators have multiple apartments of the same type – for example, 3 units of a 2-bedroom apartment in the same building. BookaStay Naija lets you add each unit separately so guests can book any available one. Here’s how to add them once your listing is submitted:
Adding Multiple Units to Your Listing
Multiple Units can only be added after your listing has been submitted and approved. Your first unit (Unit 1) is created automatically when you submit your listing. Once it’s live, follow the steps below to add Unit 2, Unit 3, and so on.
Section 1 – Go to My Listings in Your Dashboard
Log in to your dashboard. On the left sidebar, click Listings, select Active, then click Units. Find the listing you want to add units to and click on it.
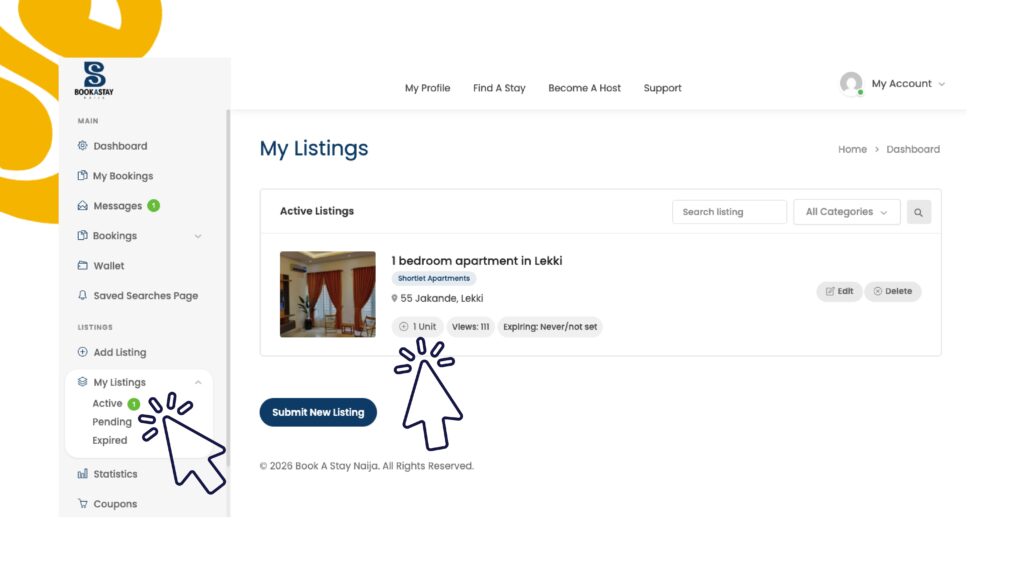
Section 2 – Click on the Active Listing
You’ll be taken to a Units page showing your existing unit(s) and an Add Unit button at the bottom left.
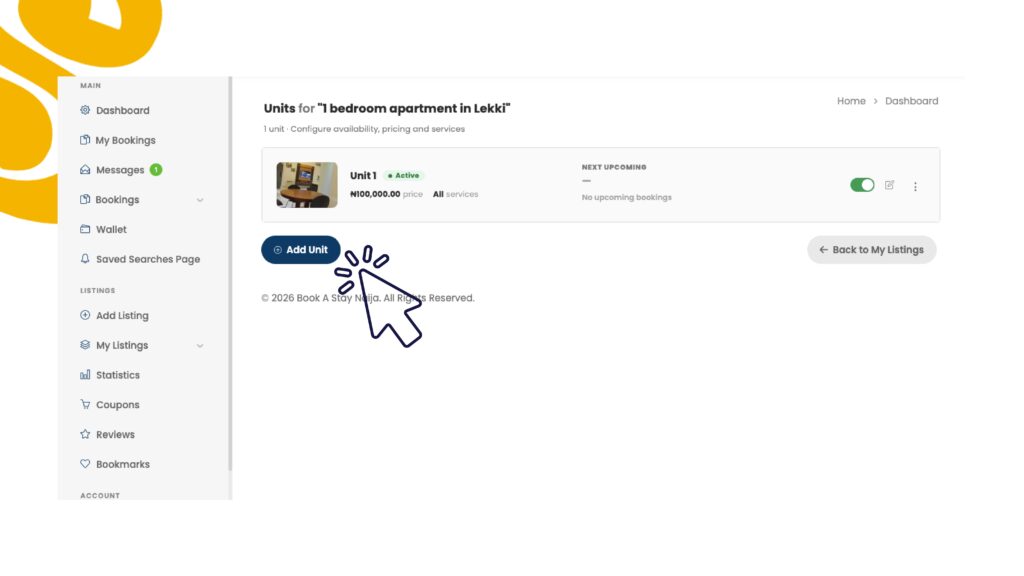
Your first unit (Unit 1) is created automatically when you submit your listing. Click Add Unit to create Unit 2, Unit 3, and so on.
Section 3 – Fill In the Unit Details
After clicking Add Unit, you’ll see a form to set up the new unit. Follow the sections below.
Basic Information
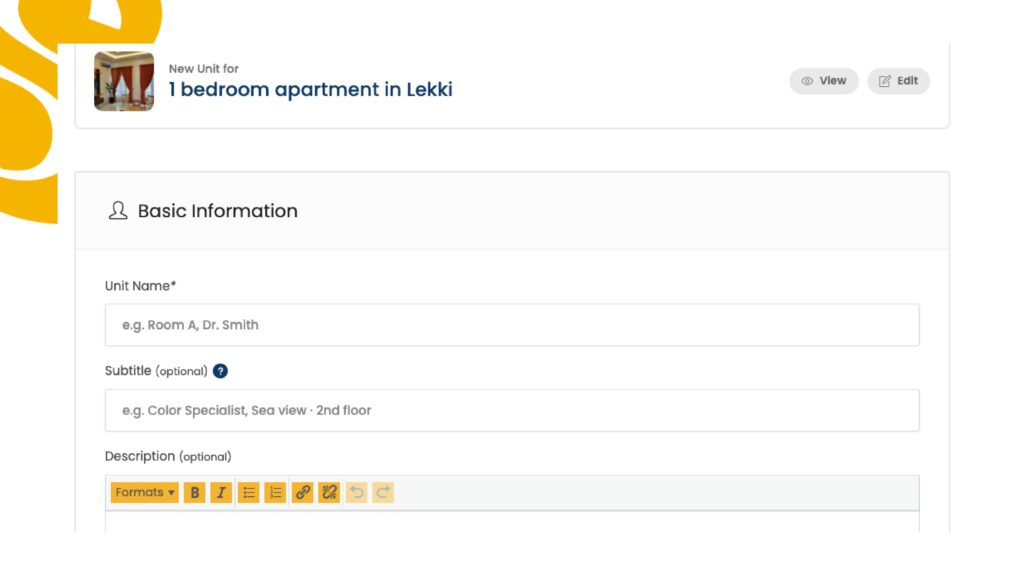
| Unit Name | Required | Name your units sequentially – Unit 2, Unit 3, Unit 4, Unit 5, Unit 6, and so on. Keep it simple and consistent. |
| Subtitle | Optional | Add a short note if this unit has anything different – e.g. 2nd floor, Sea view. Leave blank if all units are identical. |
| Description | Optional | Only needed if this specific unit has unique features worth highlighting. Otherwise, your main listing description covers it. |
Keep unit names clean and consistent: Unit 1, Unit 2, Unit 3… This makes it easy for guests and for you to manage multiple bookings.
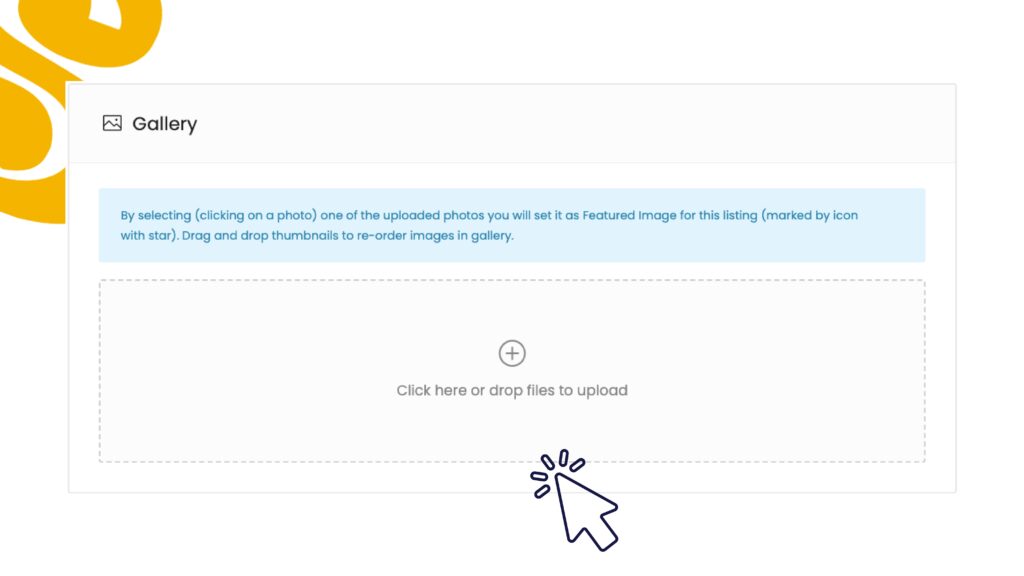
Gallery
Upload photos specific to this unit if they differ from the main listing. If all units look the same, you can leave it blank.
Bookable Services
Select the service tier that applies to this unit. This links the unit to the pricing options you set up in your main listing.
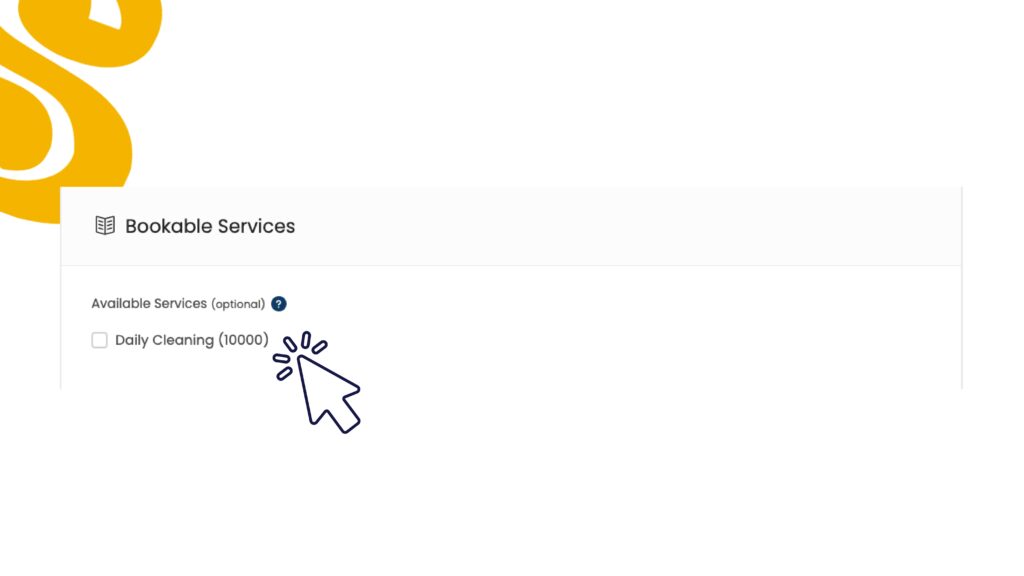
Make sure you select the correct option here – this determines what the guest is charged when they book this specific unit.
Booking Prices & Settings
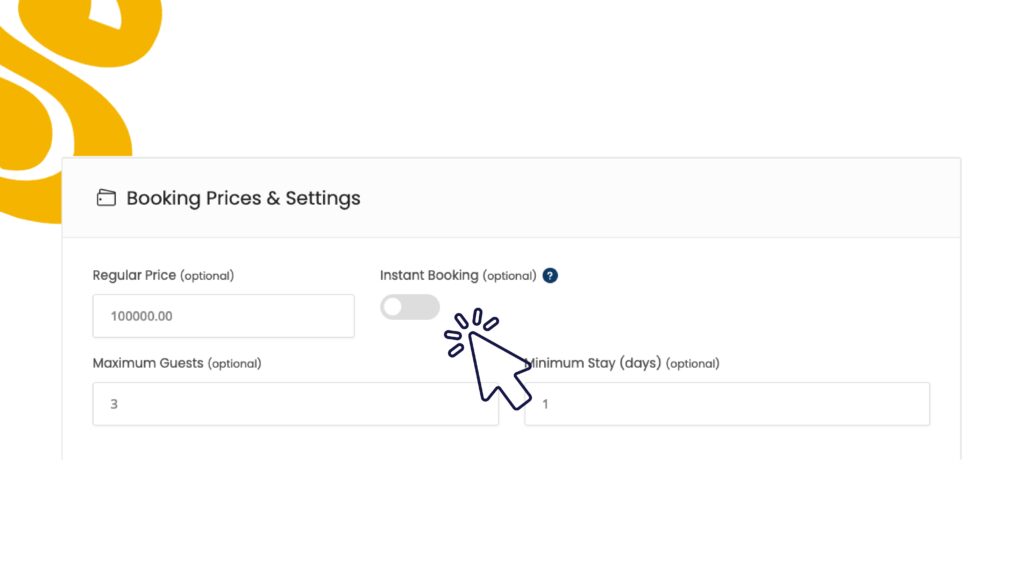
| Regular Price | Optional | Leave this as set from your main listing, or override it here if this unit has a different nightly rate. |
| Instant Booking | Optional | Toggle on to allow guests to book this unit instantly without waiting for approval. |
| Maximum Guests | Optional | Set a guest limit if this unit has a lower capacity than others. |
| Minimum Stay | Optional | Leave at 1 unless you have a minimum stay requirement for this specific unit. |
Availability Calendar
Same rule as the main listing – leave this off unless you need to block specific dates for this unit.
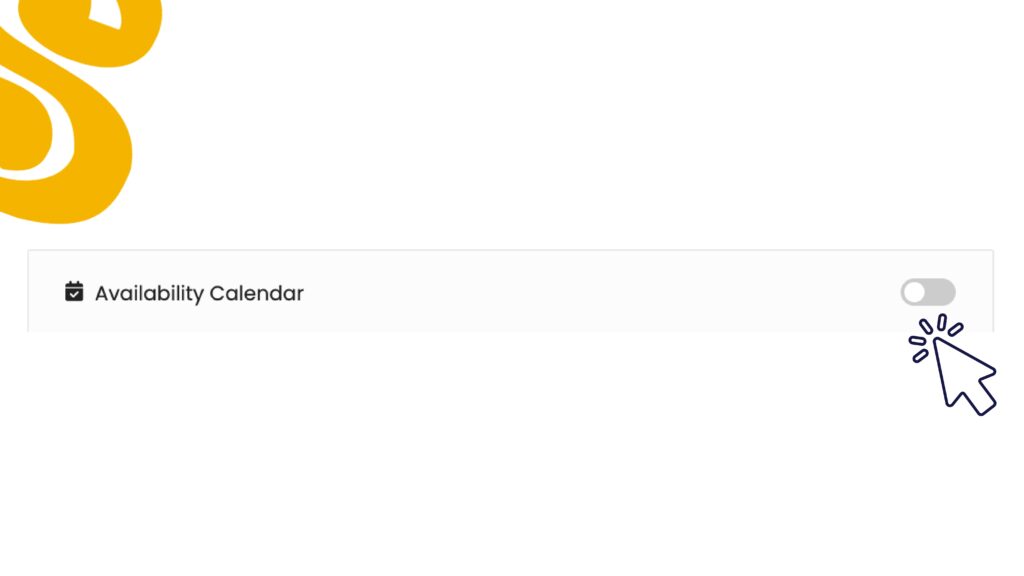
Each unit has its own independent calendar, so blocking dates on Unit 2 does not affect Unit 1.
Section 4 – Click Save Unit
Once all sections are filled, scroll to the bottom and click Save Unit. The new unit will appear on your listing booking and guests can start booking it.
Repeat this process for each unit you have – Unit 2, Unit 3, Unit 4, Unit 5, Unit 6, and so on. Each unit is managed independently with its own calendar and booking history.